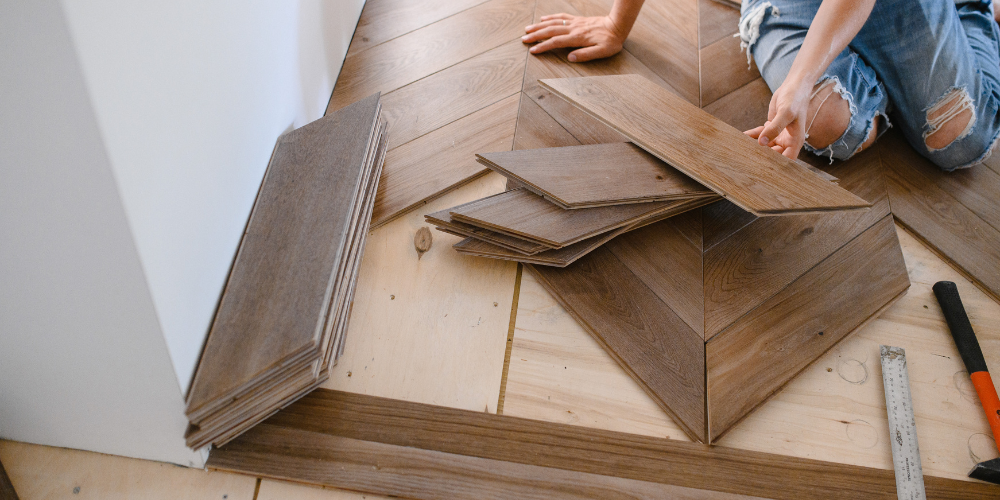

How To Install Tongue & Groove Flooring
Installing Tongue & Groove Flooring: A Complete Guide


As a home owner, I know how important it is to ensure that the flooring in my home is both safe and efficient. That’s why I always choose tongue and groove flooring for my projects. It’s easy to install and it’s aesthetically pleasing, making it the perfect choice for any home.
Installing tongue & groove flooring is a relatively easy DIY project that can completely transform the look of your home. To get started, you'll need to measure the area you wish to cover and then purchase the necessary materials. Here at FlooringHub.co.uk, we have a wide range of solid wood and engineered wood available, so you’ll be able to find something that suits your budget and style.
Once you have the materials, you’re ready to get started. Begin by laying down a vapor barrier or underlayment and secure it in place. Then, start by interlocking the tongue and groove edges of two planks together and continue until the entire area is covered. It's important to be precise when interlocking the planks together as this will ensure that the flooring is secure and looks professional.
When I installed tongue & groove flooring in my own home, it was a huge success. My wife, Felicity, and two sons, Gus and Frank, were amazed at the transformation and I was pleased with the quality and appearance of the finished product. Our family dog, Blue, also seemed to appreciate the new flooring as it was much softer than our old one.
If you’re looking for more detailed instructions on how to install tongue & groove flooring, be sure to refer to our step-by-step guide. With this information, you’ll be able to ensure that your flooring is safe, efficient, and of the highest quality.
